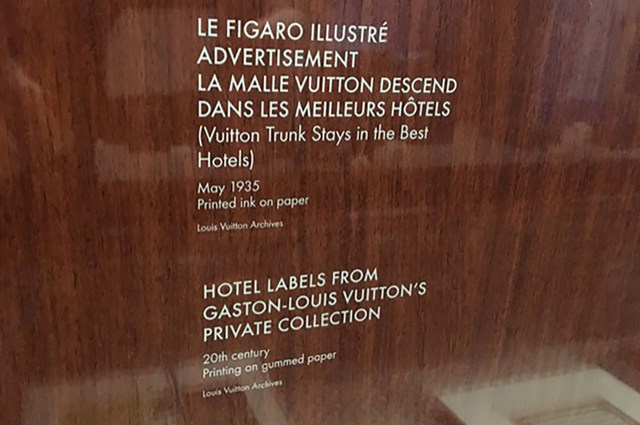
 If you’ve ever visited a museum exhibit and wondered how they create those crisp and elegant wall labels for each artwork, you might be surprised to learn that they use a simple but effective technique: dry transfers. Dry transfers are rub-on letters that can be applied directly to any flat, smooth surface with a burnishing tool. They have several advantages over other methods of labeling, such as stickers or vinyl decals. They are more durable, more flexible, and more aesthetically pleasing. They also allow you to customize your font size, style, color, and layout according to your design preferences. You will also learn tips and tricks for making your labels look professional and polished. By this post’s end, you can create your own museum-quality labels for any exhibit or display.
If you’re a museum curator, you know how important it is to create a captivating and informative exhibit for your visitors. You want them to appreciate the beauty and significance of each artwork as well as learn something new and interesting. But how do you achieve that without cluttering your walls with ugly stickers or vinyl decals that peel off or fade over time?
The answer is simple: custom dry transfers. Dry transfers are rub-on letters that can be applied directly to any flat, smooth surface with a burnishing tool. They have several advantages over other methods of labeling, such as:
- They are more durable, more flexible, and more aesthetically pleasing
- They allow you to customize your font size, style, color, and layout according to your design preferences
- They create a seamless and professional look that enhances your exhibit’s appearance
In this blog post, I will show you how to use dry transfers for museum labels in two easy steps: preparing your surface and applying your transfers. You will also learn tips and tricks for making your labels look professional and polished.

Step 1: Preparing Your Surface
Before you apply your dry transfers, you must ensure your surface is clean, dry, and smooth. Any dust, dirt, grease, or moisture can affect the adhesion and quality of your transfers. You can use a soft cloth or a paper towel to wipe off any debris from your wall or other surfaces.
Next, you need to measure and mark where you want to place your labels. You can use a pencil or painter’s tape to mark the edges of your labels. Make sure that they are aligned with the artwork and spaced evenly.
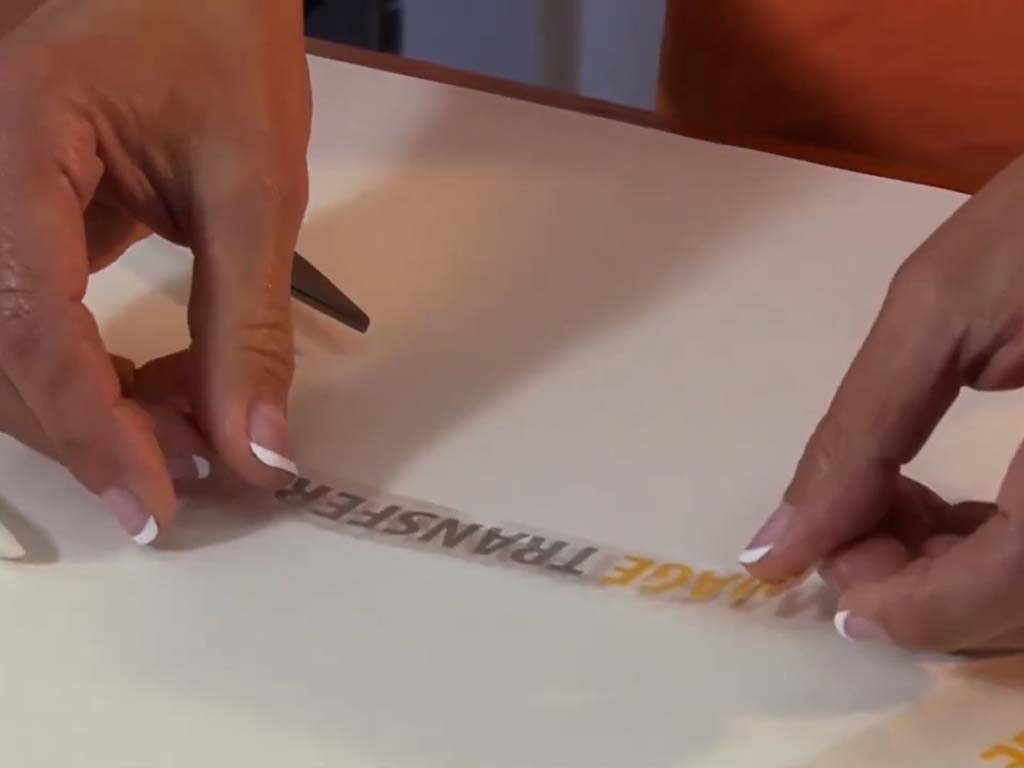
Step 2: Applying Your Transfers
Once you have prepared your surface, you can apply your dry transfers. You will need the burnishing tool we supply free with your order of dry transfers. You will also need a pair of scissors to cut out each label from the sheet.
To apply your dry transfers, follow these steps:
- Cut out each label from the sheet using scissors.
- Peel off the peel off the clear slick from the image.
- Position the label on the marked area on the surface.
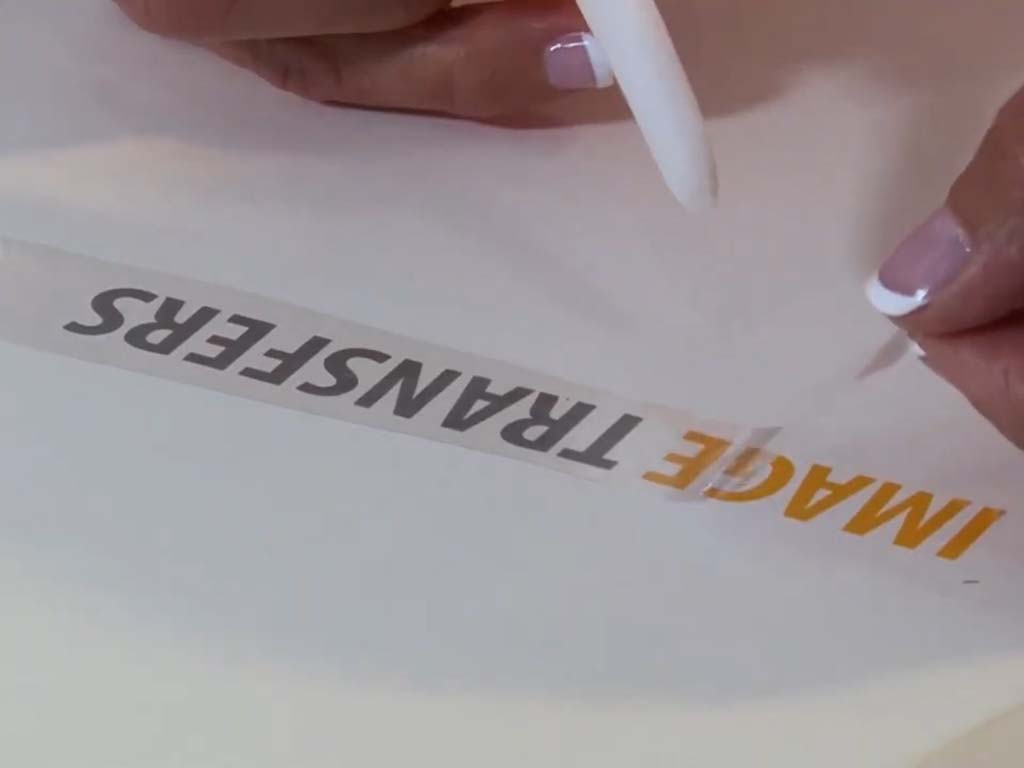
- Press down firmly on the label with the burnishing tool.
- Rub over the entire label with circular motions until it adheres completely.
- Peel off the top layer of paper from the label.
Repeat these steps for each label until you have applied them all. Congratulations! You have just created beautiful museum labels using dry transfers!
To learn more, please follow the link below.
https://imagetransfers.com/blog/5-types-of-museum-labels/
Image Transfers are custom dry rub-on transfer specialists. We make only one thing: custom rub down transfers for graphic designers, artists, and model-makers. A dry transfer (or rubdown) is an image printed on a translucent sheet. The image has a coating of adhesive on its back. The image is transferred from the translucent sheet onto another surface by applying light pressure in a rubbing motion. The dry transfer can be applied to any surface that is free of dust, grease or oil. Dry transfers are referred to as DRY because they are applied dry, without the use of water or solvents. A dry transfer is not a slip-off label or a water decal, instead, the transferred image appears as if it was printed directly onto the item. Our dry transfers are opaque because we back the colors with white, so our rubdowns can be applied to a surface of any color without changing the color of the rub-on transfer. We consider dry transfers a semi-permanent application. A top coat of clear lacquer can make them more permanent. Our production artists can match all Pantone Matching System (PMS) colors including Metallic. Standard transfers are semi-gloss but we also offer matte and uncoated finishes. We deliver within as little as 24 hours. -- Specialties: Custom Rub Down Dry Transfers, Art Gallery Signage & Museum Labels, Custom Transfers for Product Prototypes, Comps & Mock-ups, Dry Transfers for Scale Models. Decals for Glass and reversed transfer decals for inside glass cases.
Recent Comments